Communication is central to the tools of the Church. Often, this includes a weekly bulletin. When it comes to the print version, Church leadership can use a printed bulletin to welcome guests, serve up event info hotter than a fresh cup of church coffee, provide an order of worship, announcements, prayer requests, contact information, and sermon notes. But what about a digital bulletin?
There are a number of reasons you might consider using a digital bulletin in addition to (or in place of) a printed bulletin.
- When printed bulletins are misplaced or thrown away, digital bulletins can still be accessed from any mobile device with an internet connection.
- You’ll save money and time by using less paper and ink—no need to fold the digital copy.
- The content in the printed bulletin remains unchangeable until a new bulletin is printed. This means it becomes outdated almost as soon as it is created. But a digital bulletin is updated immediately for everyone to see the moment anything is changed.
- The digital bulletin is dynamic. Not only can it include text and images like a printed bulletin, it can also include video, audio, and links to website content.
- Digital bulletins are searchable, making it easier to find specific information.
- Your website and social media platforms can integrate a digital bulletin. You can email it to your contacts list.
- Opportunities for feedback increase with the digital bulletin, welcoming people to reply to surveys, forms, a registrations.
These advantages of a digital bulletin are just the basics available to you for free!
Let’s talk about how to make a digital bulletin for free. You can accomplish this goal in a number of ways. So don’t limit yourself to these steps. But here is one way to do it for free. You can use the following steps to create your print bulletin and digital bulletin at the same time (no need to create two separate bulletins).
1) Create a bulletin using Google Slides. You could also use Google Docs (it will function more like Microsoft Word or Mac Pages). But I prefer Google Slides because allows you to layout text and images anywhere on the page, more like Microsoft Publisher. Just add text boxes and images, then resize and drag them around as desired.
A) If needed, you can use this link to learn basics to use Google Slides.
B) Adjust the size and orientation of your slide to match your plans for the printed bulletin by choosing File > Page Setup and make any changes needed. C) Once you’ve finished adding all the awesome content to your bulletin (now it’s ready to print and display) go ahead and print copies of your bulletin the same way you normally would.
2) Make your digital bulletin available for everyone to see. You’ll need to change its permissions so others can view (but not edit) the digital version.
- A) Start by choosing File > Share > Publish to web
- B) Change “Auto-advance slides” from every 3 seconds to every minute. At the time of this article, there is no slower option. It will alway auto-advance. C) Check both of the boxed (Start the slideshow… and Restart the slideshow…). D) Click the Publish When it asks are you sure, you can select OK. E) Stay on this page because soon you’ll need the crazy long web address that just appeared.
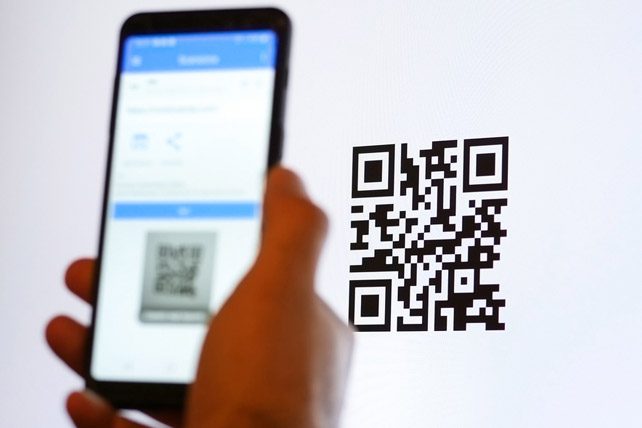
3) Make a QR code that points to the digital bulletin. If you choose to regularly update last week’s bulletin instead of making a new one each week, you’ll only need to do this part once. After that, the same QR code will continue to work for your newly updated digital bulletins. The QR code you make can go on your printed bulletin (among other places) to be easily scanned by anyone who wants access. A) The long-as-a-giraffe’s-neck web address for the digital bulletin will appear after you click the Publish button. Copy it.
- B) Even though you’ll be using a QR code, don’t skip this step. Shorten the CVS receipt-length web address by using a website such as https://tinyurl.com/app and a clever alias like your church initials and the word bulletin. It will look something like http://tinyurl.com/wccbulletin. Copy the shortened URL (web address).
- C) Use a QR Code Generator (like https://goqr.me/#t=url) to make a QR code by pasting the shortened web address and then copying (or saving) the QR code image.
- D) Test the QR code with your phone. If it didn’t work, go back to step 2 above (or text me at 833-515-7078 to ask for help).
- E) If the QR Code is working, paste it onto the front of your shiny new digital bulletin.
- F) Add text with the QR code that reads: Digital announcements available at [add the shortened web address]. This is one of several reasons why you want the shortened web address.
4) Bask in the satisfaction of having added a digital option with all the benefits listed above. So cool! Next week when your bulletin needs an update, just adjust your Google Slide. The short web address and QR code you made will already work.
The digital bulletin is the Swiss Army knife of church communication. And now you know how to make one for free! I’d be overjoyed to learn that this article has been helpful to you. I invite you to text me at 833-515-7078.

