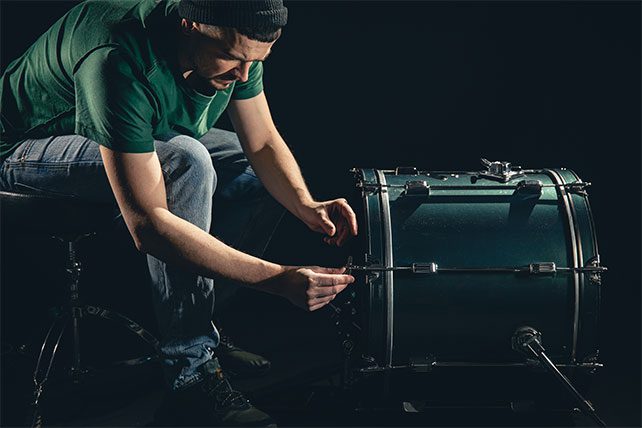
The kick drum beater just tore clear through the drum head and there’s 20 minutes to replace it. The drummer, Anthony, has the skills to do it. Not a problem. Wait, what do you mean the spare head doesn’t fit? Bring me the holy gaff tape! Did it sound great? No, but it sounded good enough and got us through the remaining five songs. Drum head repair — in 10 minutes!
These things happen in live audio but their likelihood of occurring can be minimized. To keep your drums sounding great, follow these four steps.
4 Ways to Perform Last-Minute Drum Head Repair
1. Inspect and Replace
Before getting into specifics of drum head repair, let’s cover terminology. There are two types of drum heads; batter and resonant. The batter heads are what’s hit. The heads on the opposing side are resonant heads, often seen on kick drums.
The heads (skins) come in various styles, the most common being single ply. Single sheet heads produce more overtones and brightness though lesser sustain compared to other styles. They’re the most sensitive and therefore the least durable. Single ply are available in various thicknesses.
Double ply heads have a deeper tone with fewer overtones, a shorter sustain and a more defined attack than single plys. They consist of two layers, are available in different thicknesses for distinct tones, and are more durable than singles.
Heads are also available as coated, pre-muffled and as specialty heads. Coated heads have a warmer tone due to the thicker density of the head. Pre-muffled heads decrease overtones and can be useful for kick drums. Specialty heads are designed for unique tonal properties.

